It has been a year since my last post. I’m returning to my blog to record my crafting experiences.
‘
It has been a year since my last post. I’m returning to my blog to record my crafting experiences.
‘
")
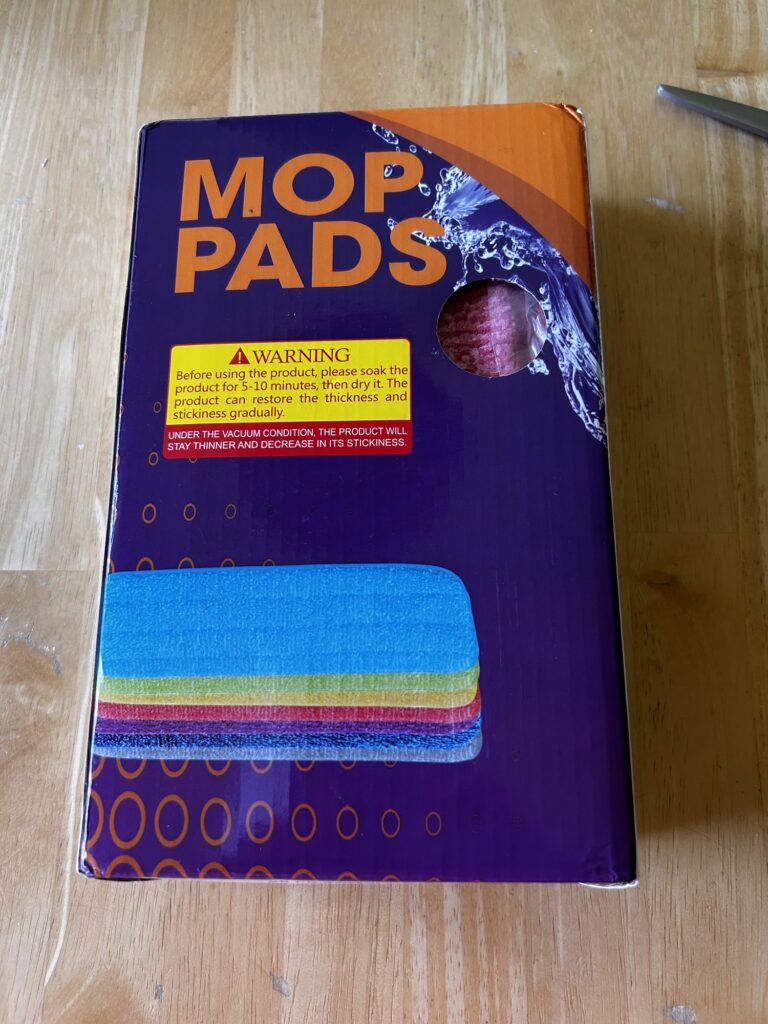
Look what just arrived, right when I needed it!
I’m trying to get excited about cleaning like I am about crafting. It’s a hard sell.
I’m hoping new cleaning products will get me enthused. I’ve bought a spin scrubber and a power mop. (That’s what the mop pads are for. The disposable ones are a lot to put in the landfill.) I also ordered some cleaning products; vinegar, baking soda and Murphy’s Oil Soap.
I got a crevasse brush with my spin scrubber. What a bonus! Here I am, preparing to campaign against 16 years of lint in the bathroom ceiling fan vents.
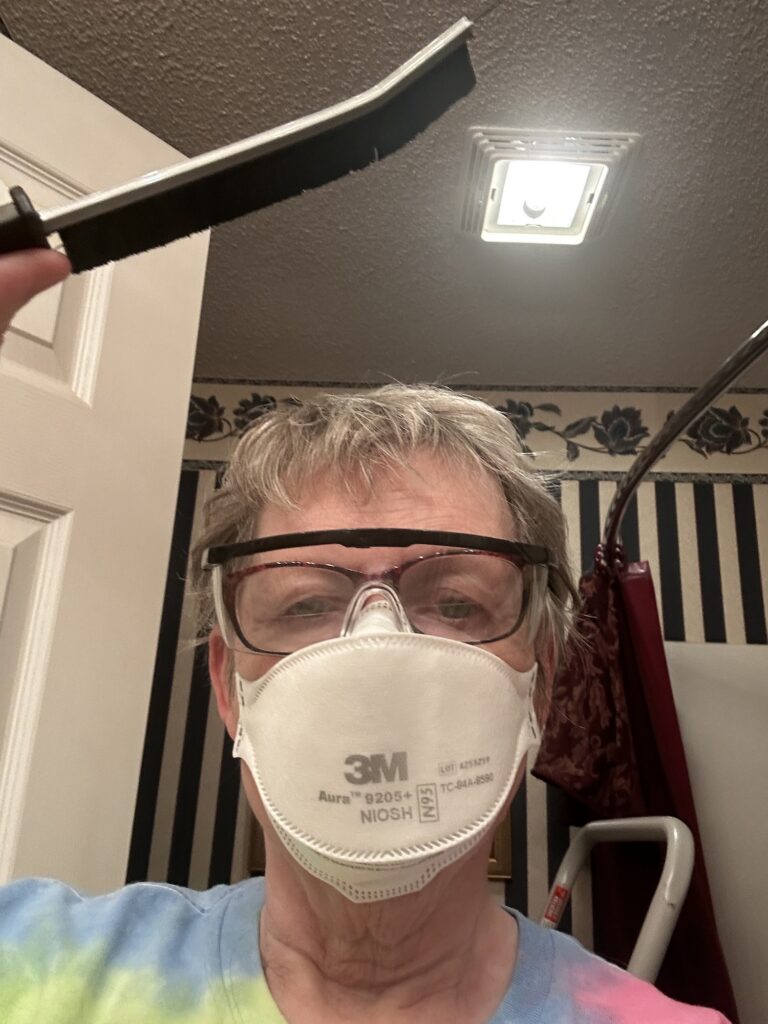
Yes, I’m serious about that. Some of that “lint” is most likely insulation from the attic!
Cost is a factor I’m bargaining with myself over. I could pay somebody to do this, but I could also pay myself in craft supplies!
I had a cleaning service at the townhouse in Charlotte. I paid them $150+tip every two weeks. Picking up for them was exhausting, and they went through my house like a tornado, often breaking things. I told their boss I thought they were too hurried, but they always had time to make roses and bows out of my toilet paper. By doing it myself, I save $300/month and toilet paper! I might be able to buy a kiln, someday!
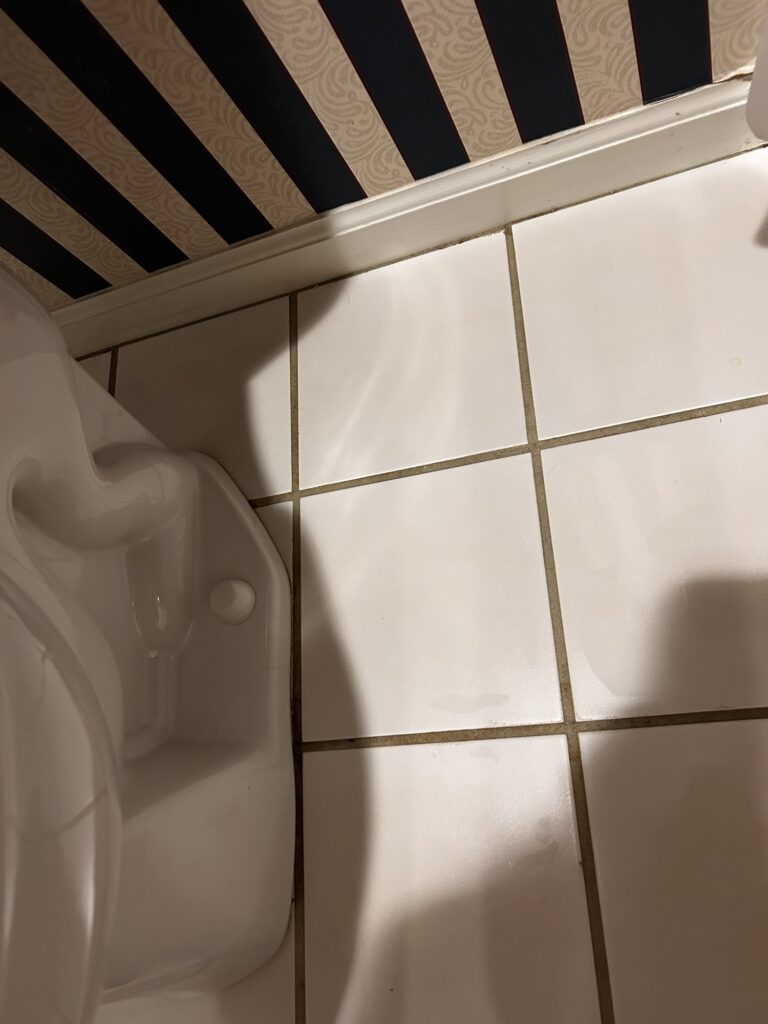
Time is another bargaining tool. These spotless toilet sides and corners took me 45 minutes.

In exchange, I’m allowing myself to watch SaraLovecraftLive
while I write this post. Now, that aggravates me, because I should be able to watch Sara without permission!
Aggravation does not lead to motivation. Maybe, I’ll stick to cost as a motivator. I’ll get back!

I’ve said before that I hate cleaning a gel plate. I decided to clean this grubber while I watched PMartist Studio on Tuesday.

I used hand sanitizer, baby oil, a lint roller and packing tape. I also used a lot of elbow grease. There was still scant smudges of paint on the plate.
During the stream, someone mentioned oil soap in relation to cleaning stencils. For some reason, that made me think of glycerin, and I have lots of glycerin soap melt from making melt and pour soaps.
I dug out a couple of cubes. I misted the plate with water, and started “skating” a cube around.
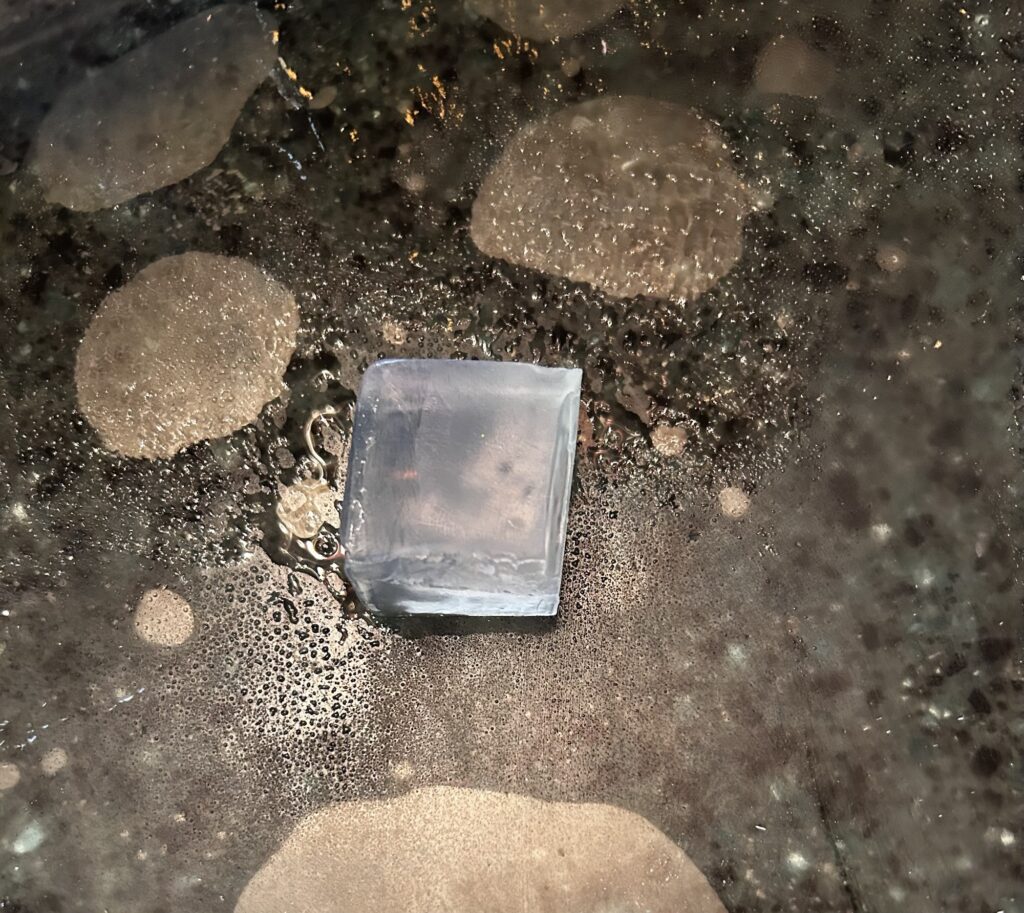
Using paper towels, the remaining paint tended to come up much more easily than with hand sanitizer or baby oil.
Yesterday, I placed a Walmart delivery order and included a bottle of liquid glycerin.
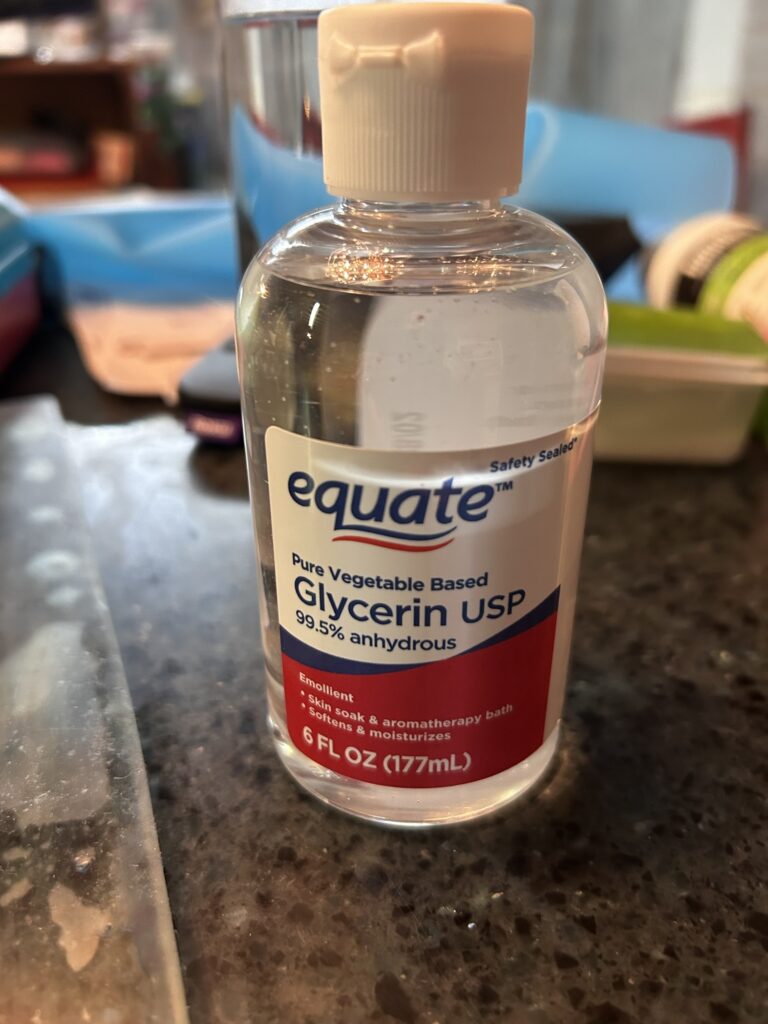
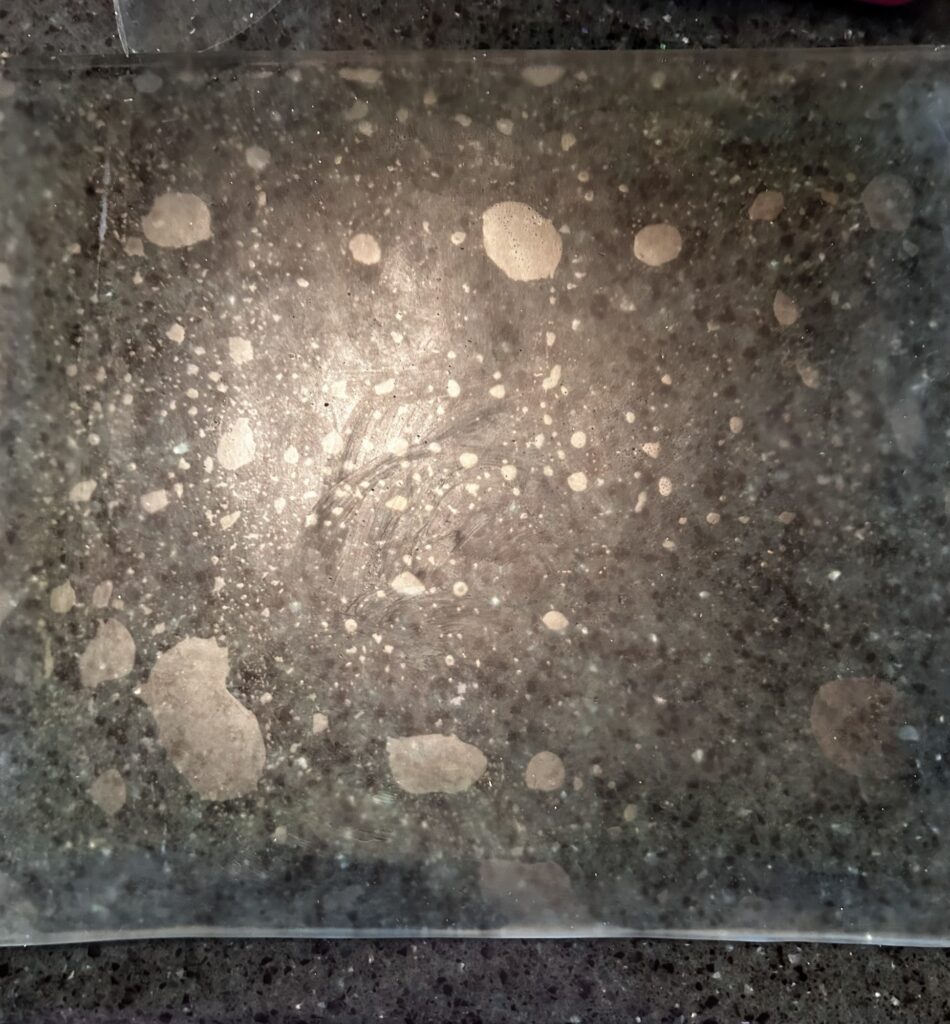
I tried a few drops on the plate. Again, using a paper towel, I was able to get the very last crumblies of paint off the plate. After it dried, I rubbed baby oil all over the plate and massaged it in. I’ll let it rest until tomorrow.
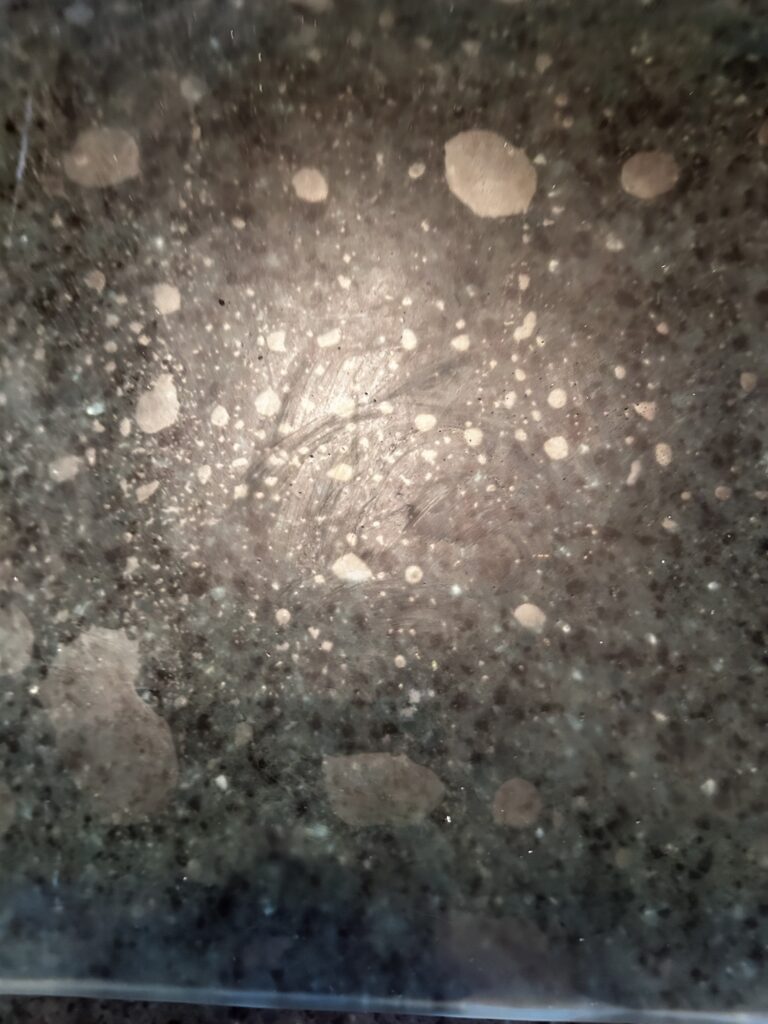
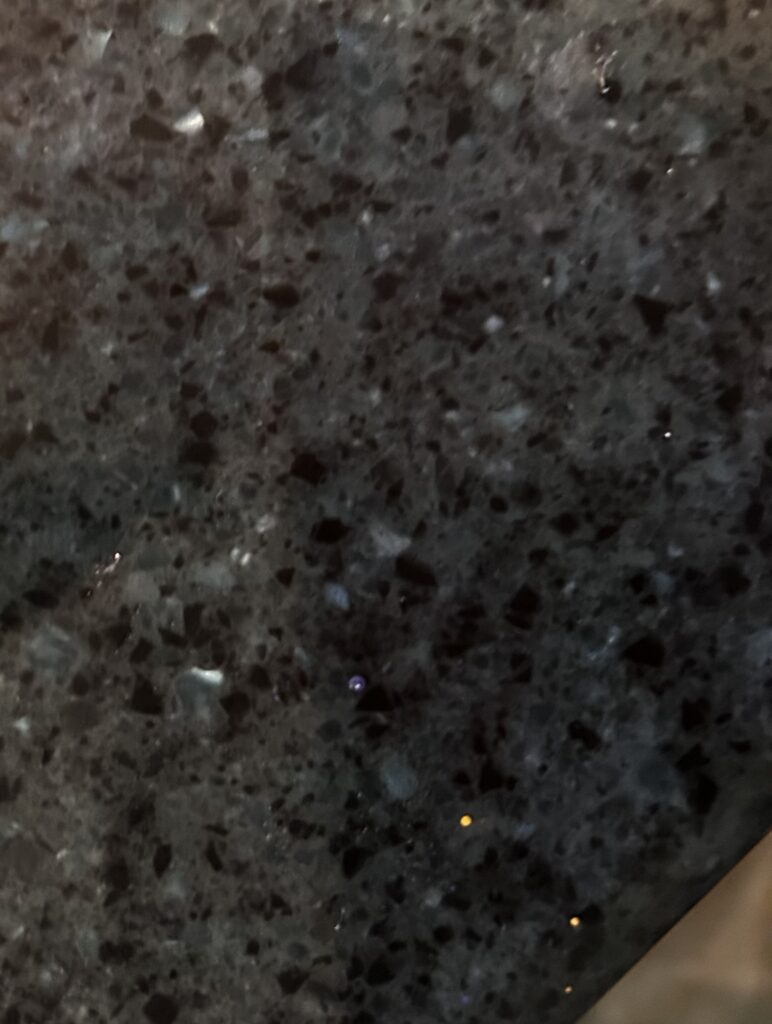
The lighter areas are just air bubbles under the plate. The plate is lying on a desk top made of solid surface counter top. This is what it looks like bare:
You can see that the gel plate is clean and almost transparent.

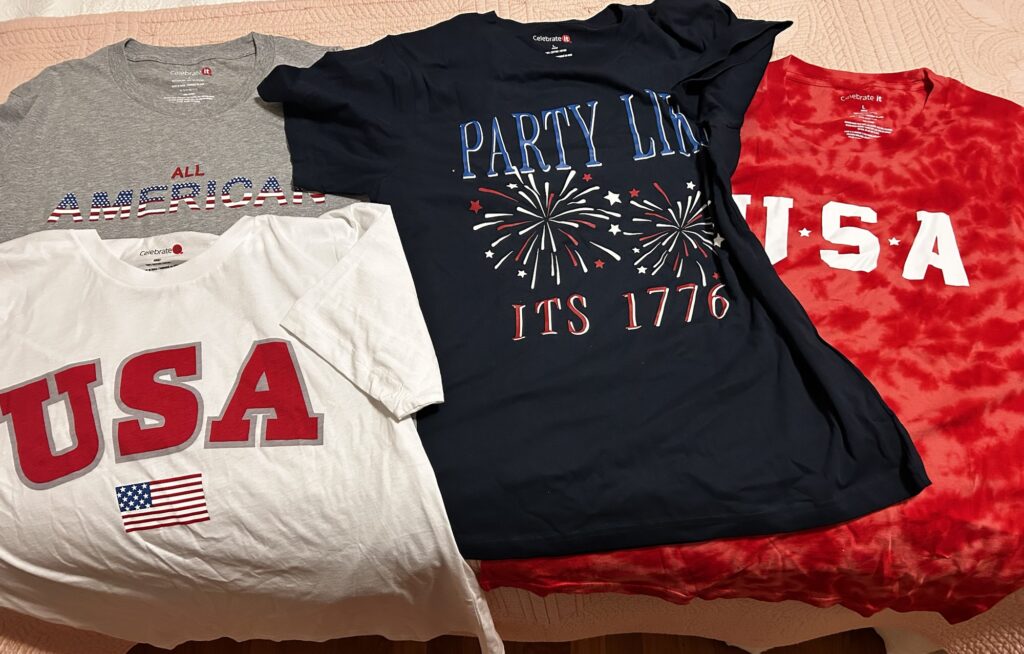
from Michael’s. $6.50 each, after Memorial Day markdown. Why they don’t keep them at full price till the 4th of July, I don’t know. Two for me and 2 for Kent:

It’s an oxymoron, right? My recent shower head purchase came with some useful packaging.
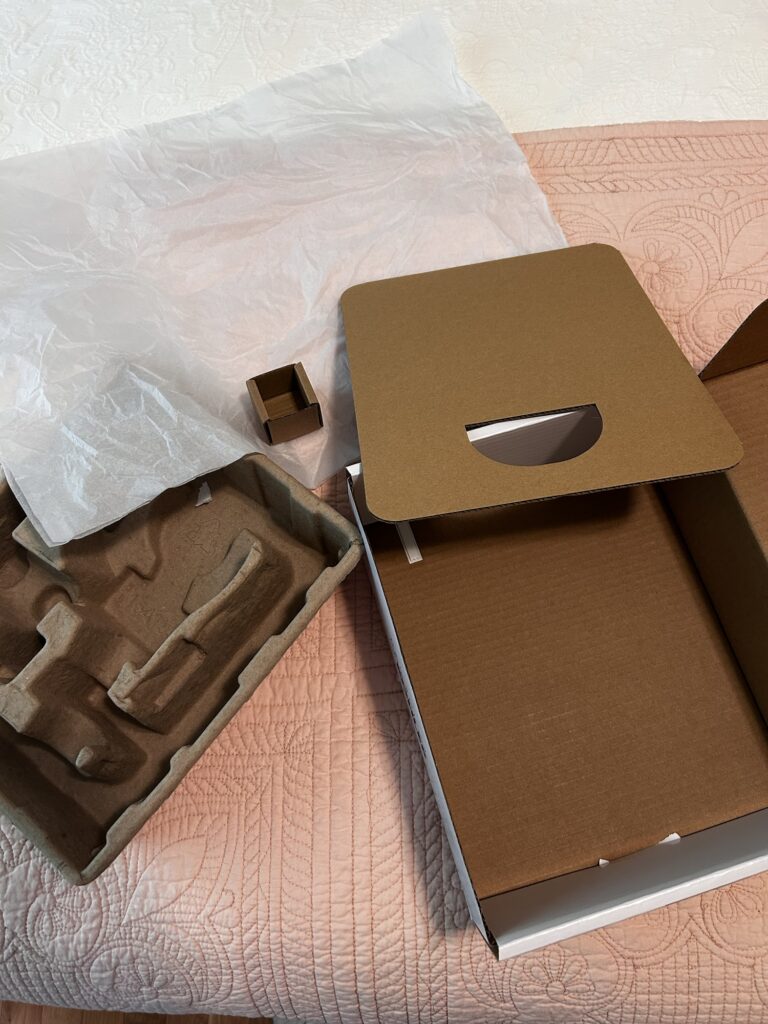
Look at that teeny tiny box that held the plumber’s tape! The main container is nice and sturdy with a hinged lid. It’ll bee great for storage! Maybe, I’ll cover it with gel prints!
I have no idea why that piece of cardboard is shaped like a cutting board, but it should make an unusual sign or collage backing.
There are two big sheets of tissue for gel plating or stamping. Even the strangely shaped pressed paper liner has a sculptural quality!
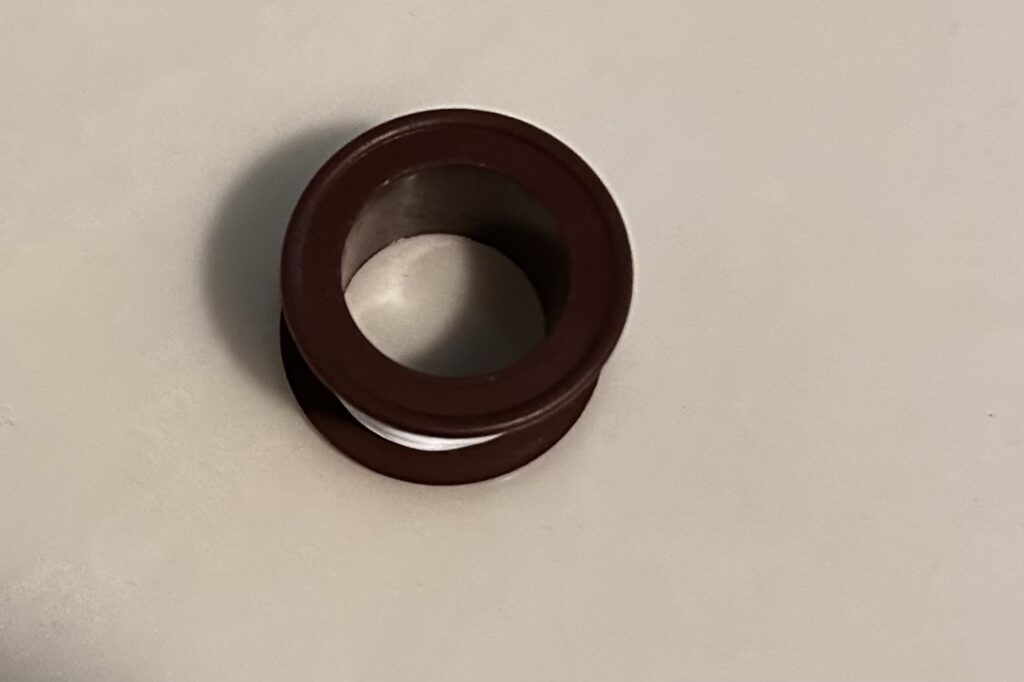
And oh! Here’s the little spool from the plumber’s tape. It can be used for mark making on the gel plate or in polymer clay. I can even wrap leftover threads or cords around it!
My husband has learned to ask, “Is it for art, honey, or can I throw it away?“

Yes, it’s June 1, but I got it finished and posted to Makers of Mixed Media Art/Artists late last night. I’m just now blogging about it.
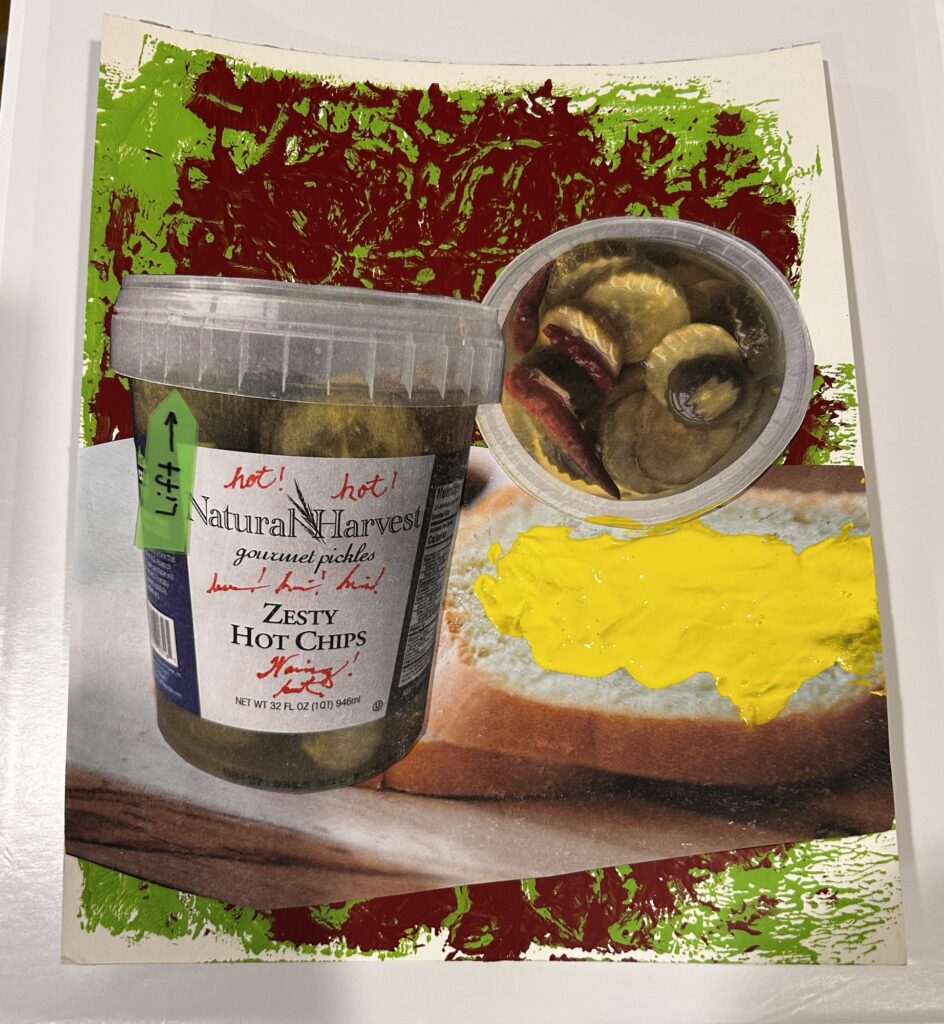
Prompts were food, label, arrow, scribbles, branches. The optional theme was still life. I call this, “What a Sandwich Needs.”
I spread that mustard yellow paint with a plastic knife!

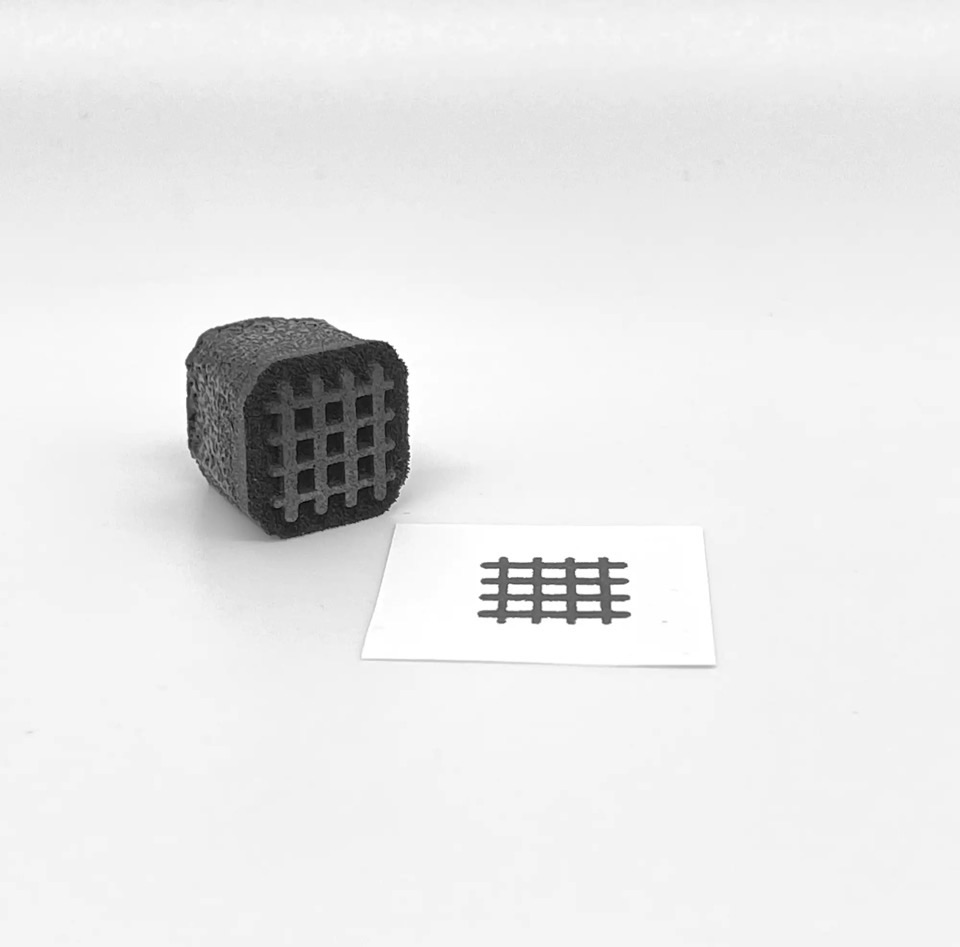
won’t be my last order! I love stencils and stamps from PMartist Studio.
This order contains the Gauze stencil I’ve been wanting for quite a while. I’m a big fan.
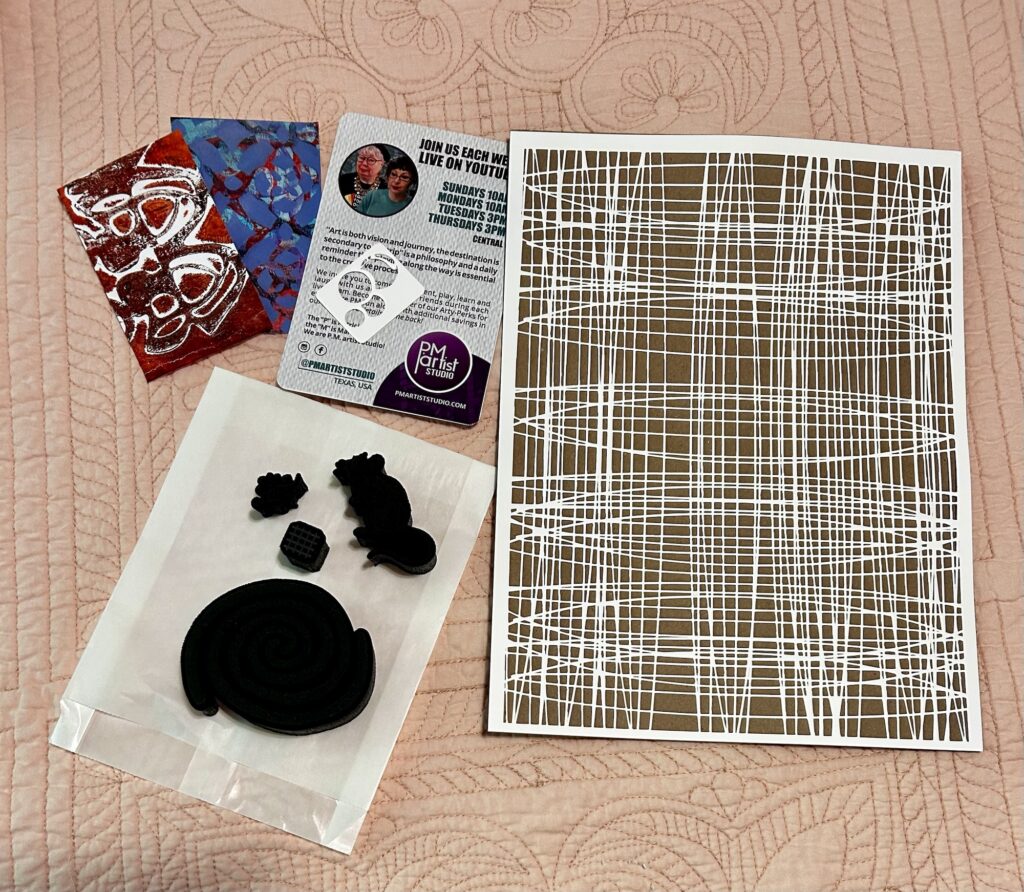
There are also 4 foam stamps. They are hard to see, so I’ve borrowed Mariah’s (M’s) photos:
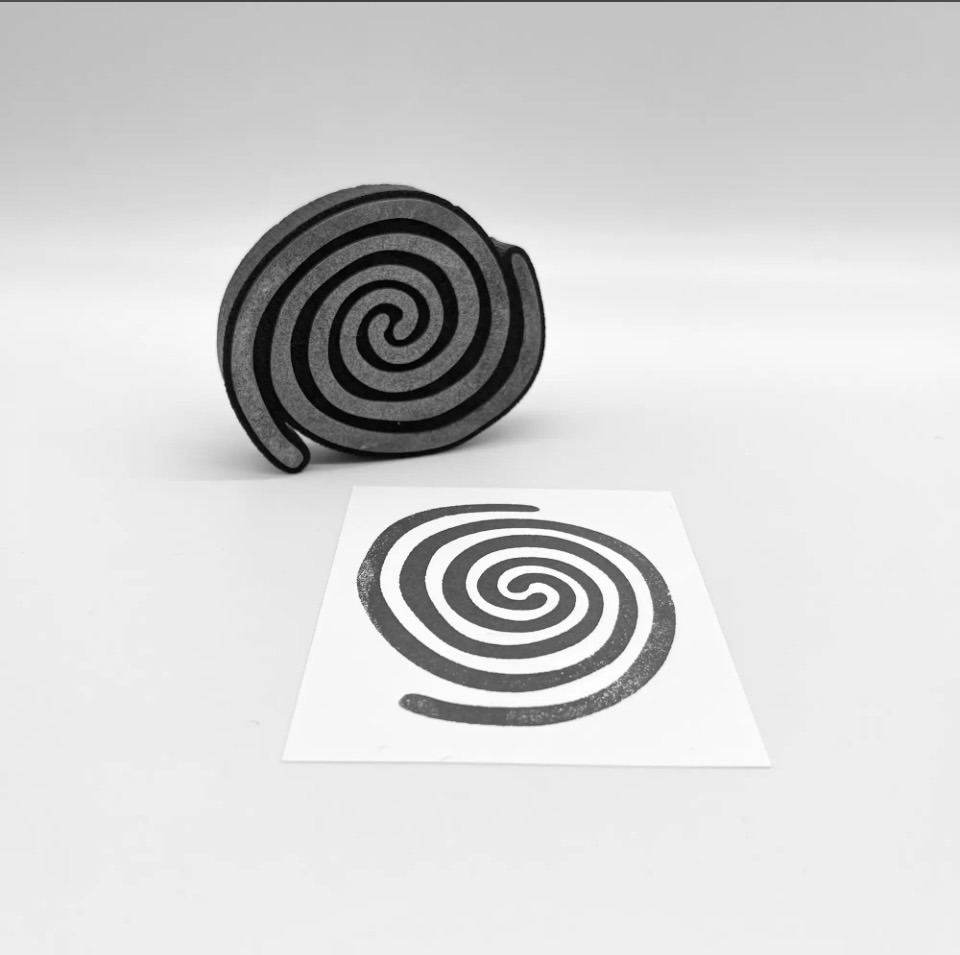
This last stamp, “Water,” was designed by Eddie Reyes of EddieMakesArt.
All the other designs are “in house,” which usually means they were designed by Brad Rushing, Mariah’s husband. I really think Brad should credit himself like the other designers.
Each order also contains PMartist’s calling card, a sample of Patricia’s (P’s) fabulous gel prints, and a mini stencil. This one looks like a cluster of bubbles!
They are very generous at PMartist’s Studio!

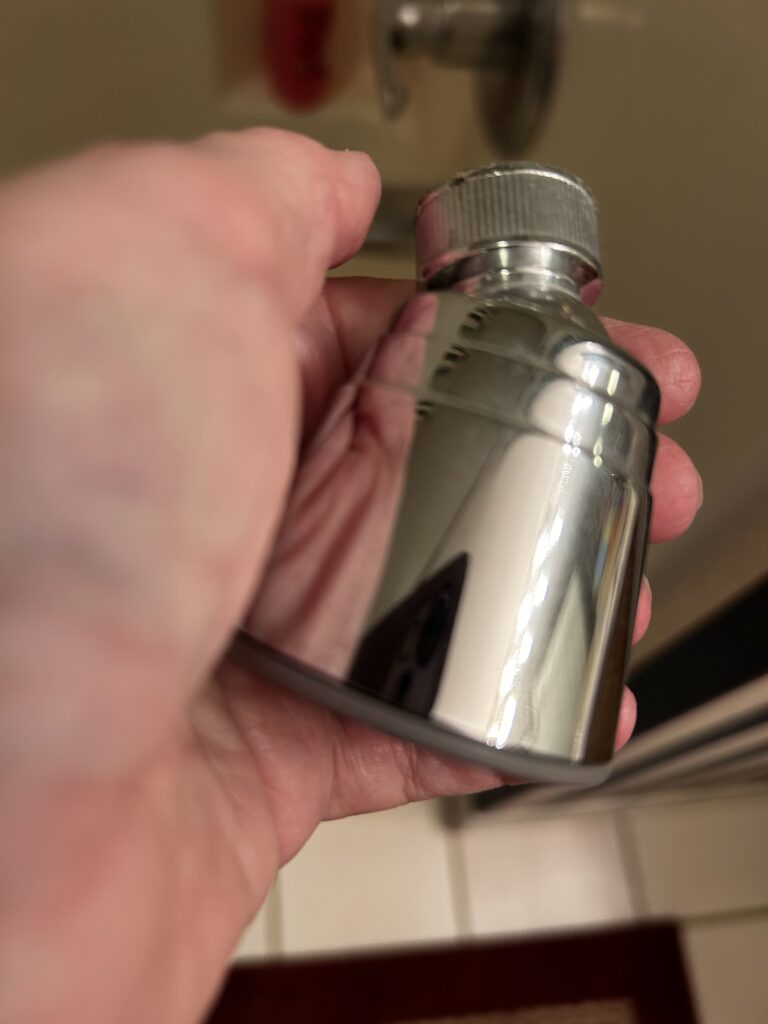
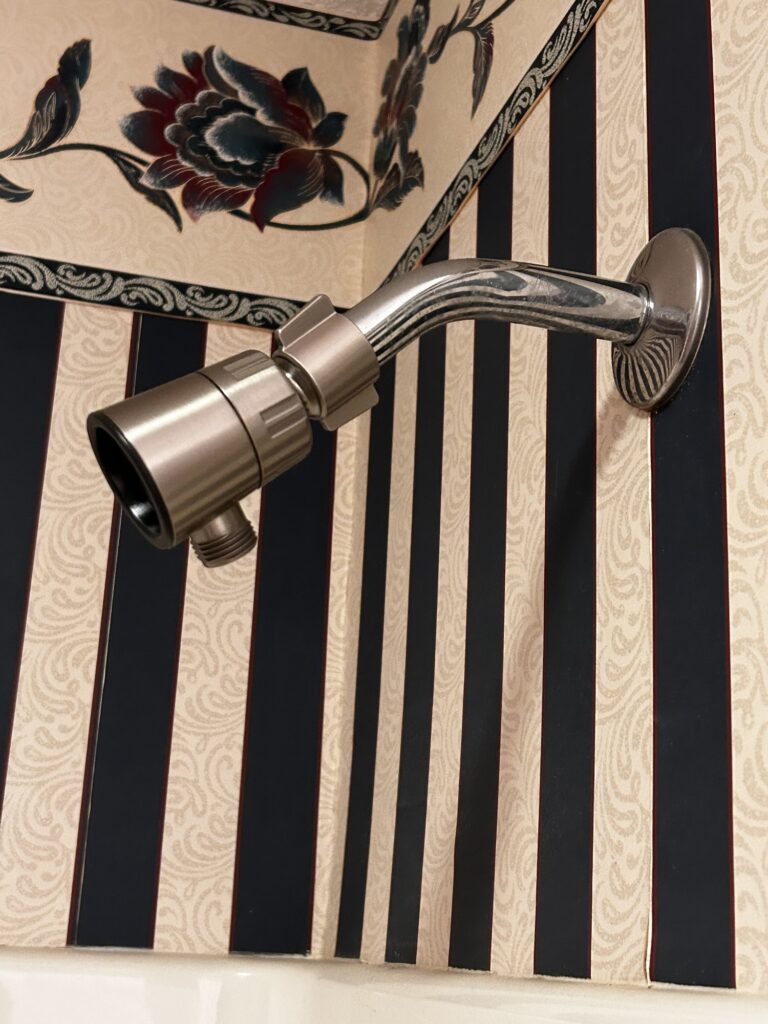
I installed a new shower head, today!
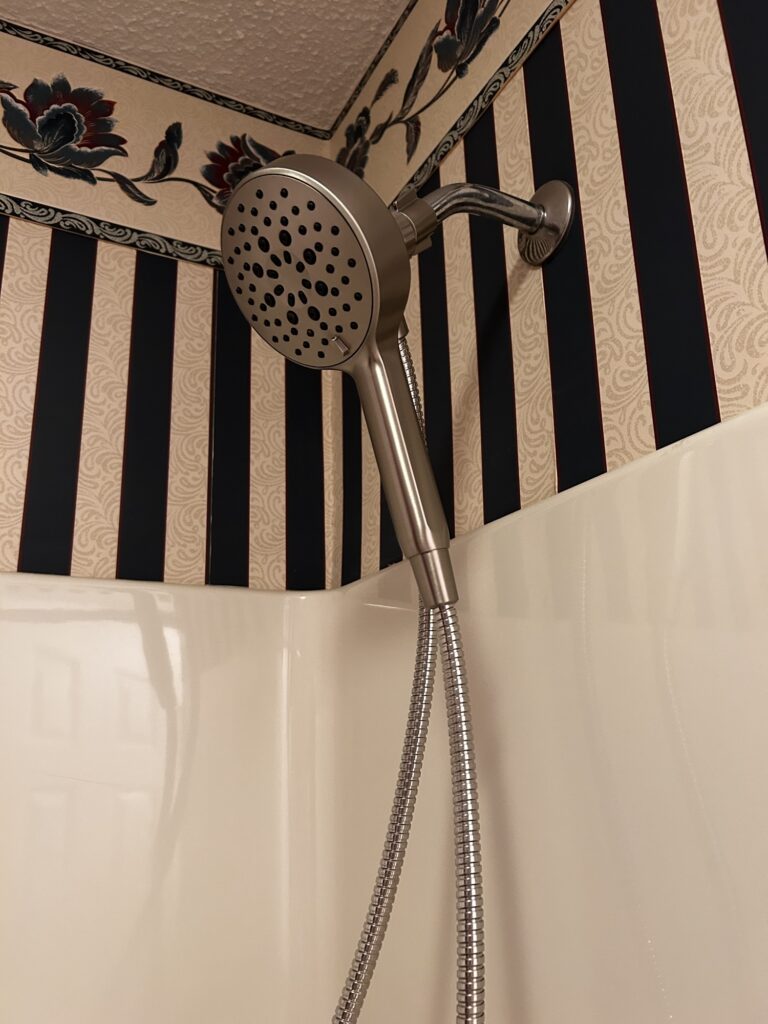
It was so easy!!!
First step: put a towel over the drain. This is to keep tiny parts from going down.
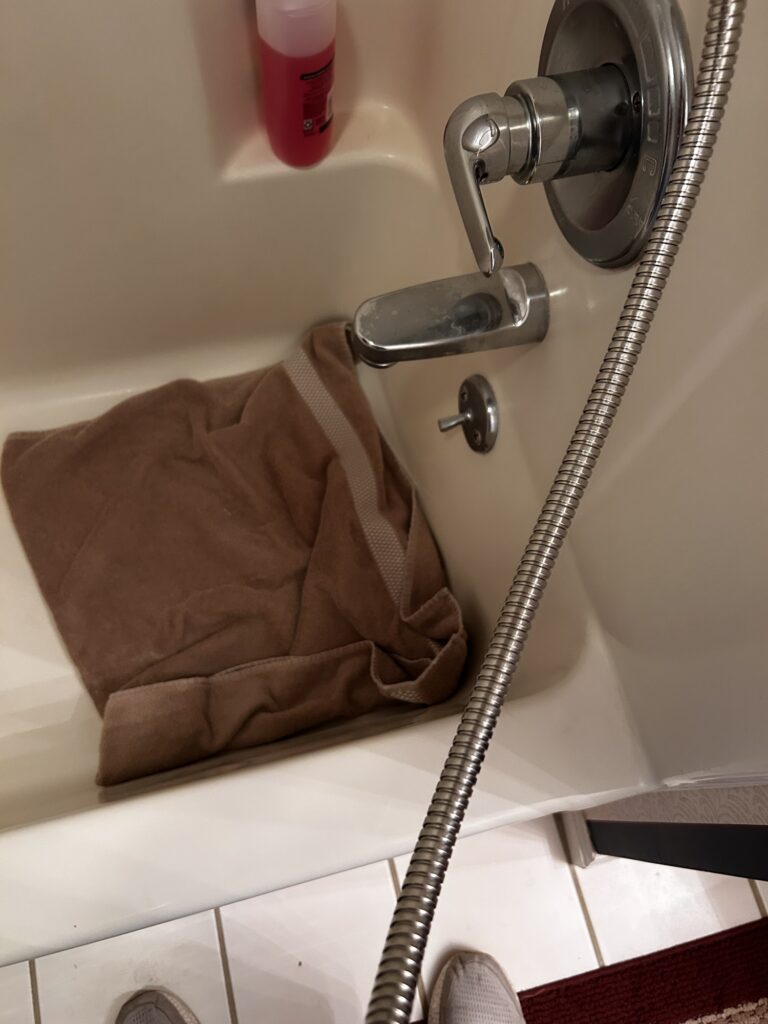
There were no tiny parts in this installation!
Second step, unscrew the old shower head. (Lefty Loosey) This one easily unscrewed with one hand.
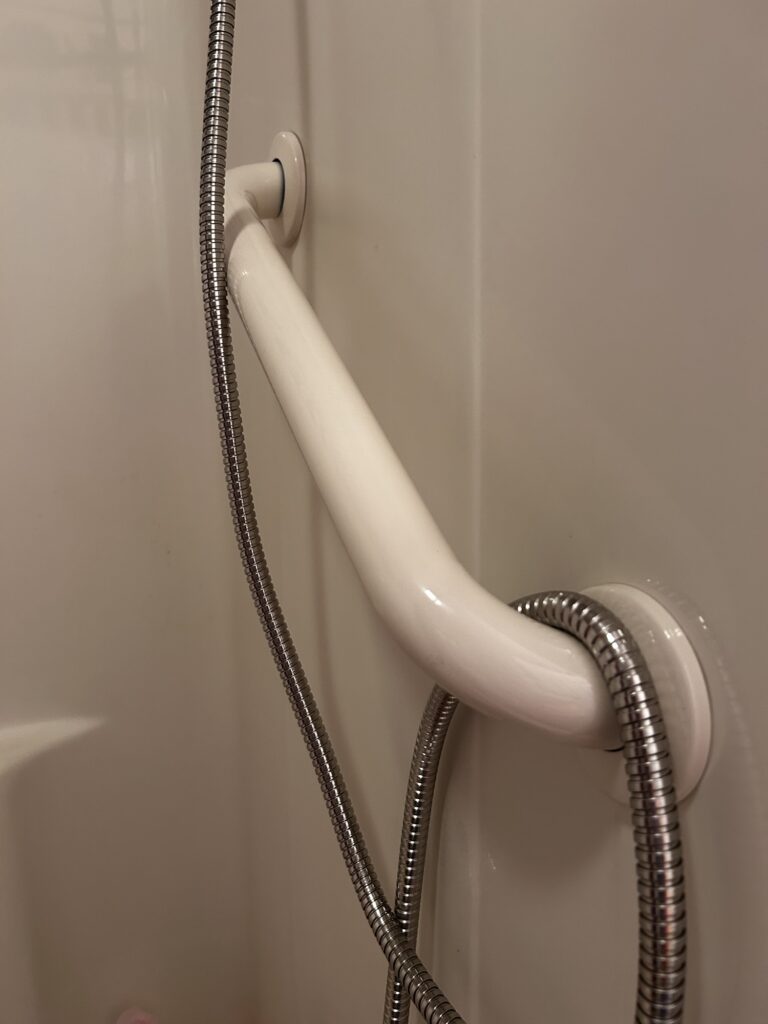
No tools were needed. I should also mention that I didn’t need a ladder, either. I don’t recommend for other folks, but my husband’s grab bar allowed me to balance while standing on the side of the tub.
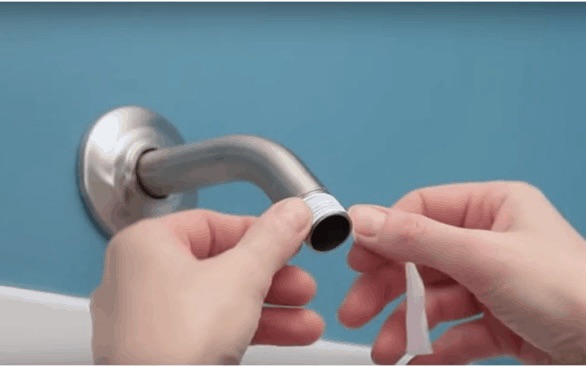
I didn’t get a photo of step three. I’ll see what I can find on line.
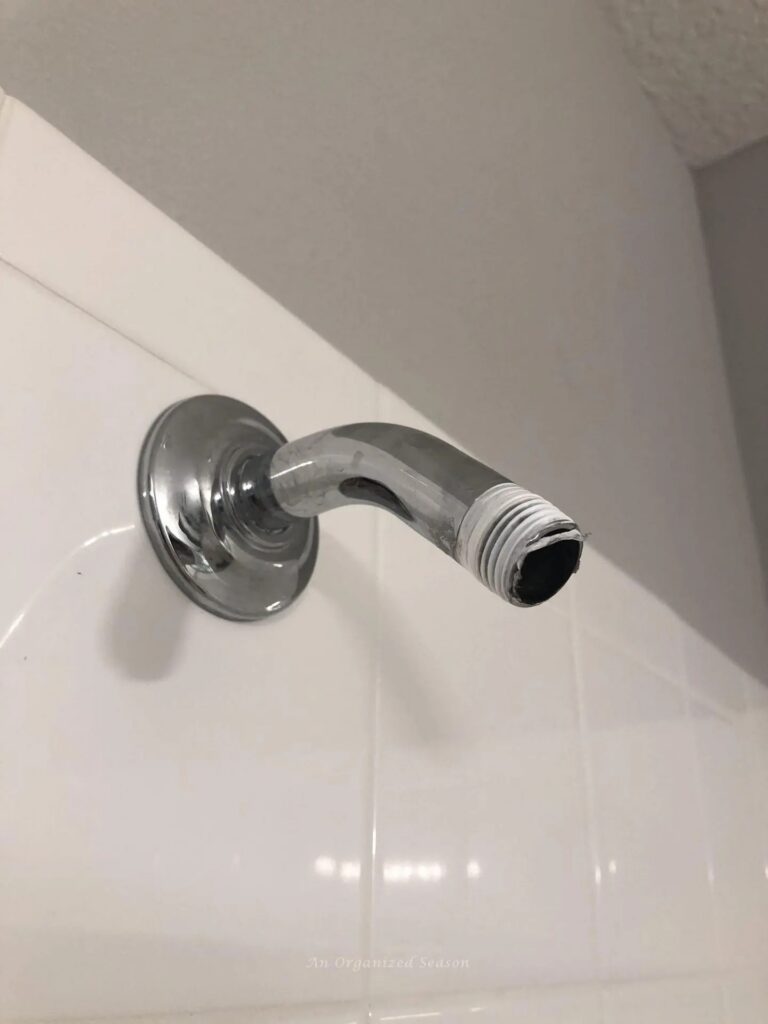
The pipe that led to the old shower head should have the remnants of (usually white) plumbers tape on the screw threads. I took an old toothbrush and cleaned as much of that and old mineral build up off as I could. I then rewrapped the threads, snugly, with new plumbers’ tape. The new shower head even came with a tiny roll!

Step four: I screwed on the new shower head attachment. (Righty Tighty.) I was able to get it tight enough with my bare hand. Still no tools!
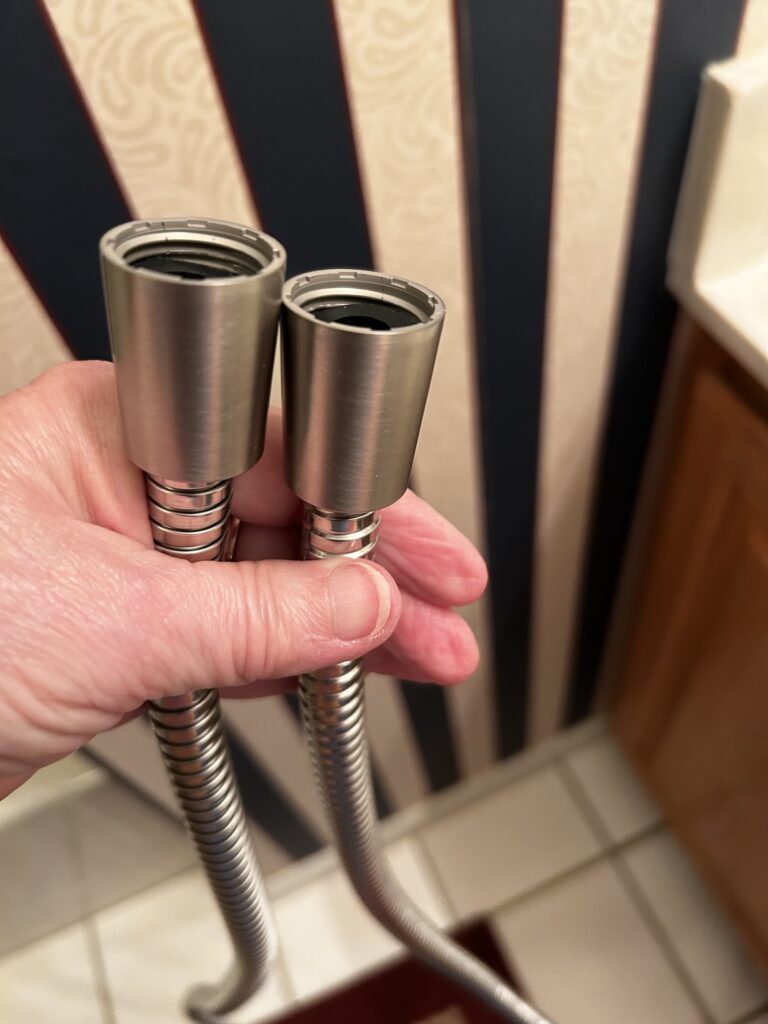
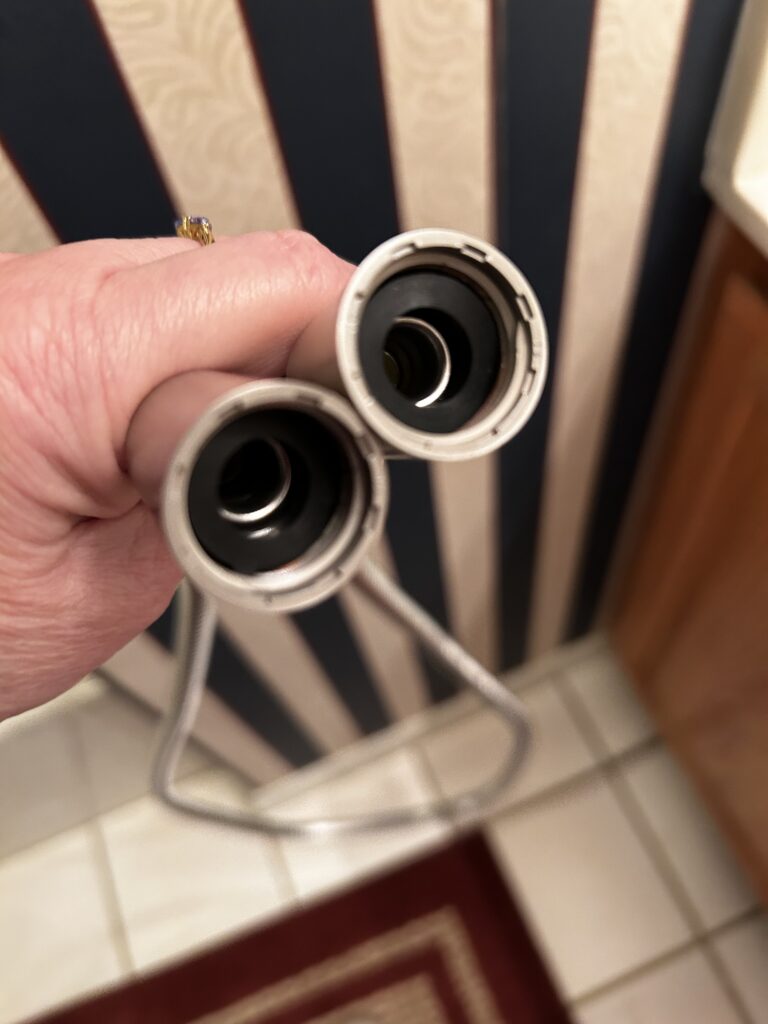
Step five: The new attachment is handheld, so I had to attach a hose. Both ends looked identical so I tried one.
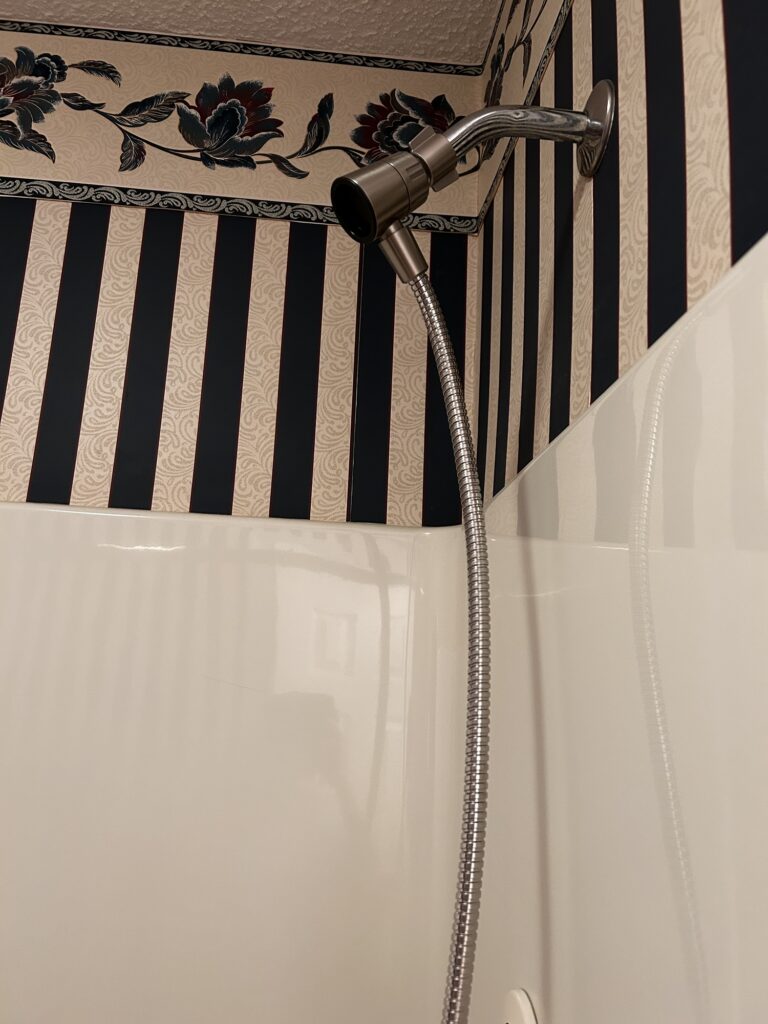
Step six: I attached the new shower head to the other end of the hose.

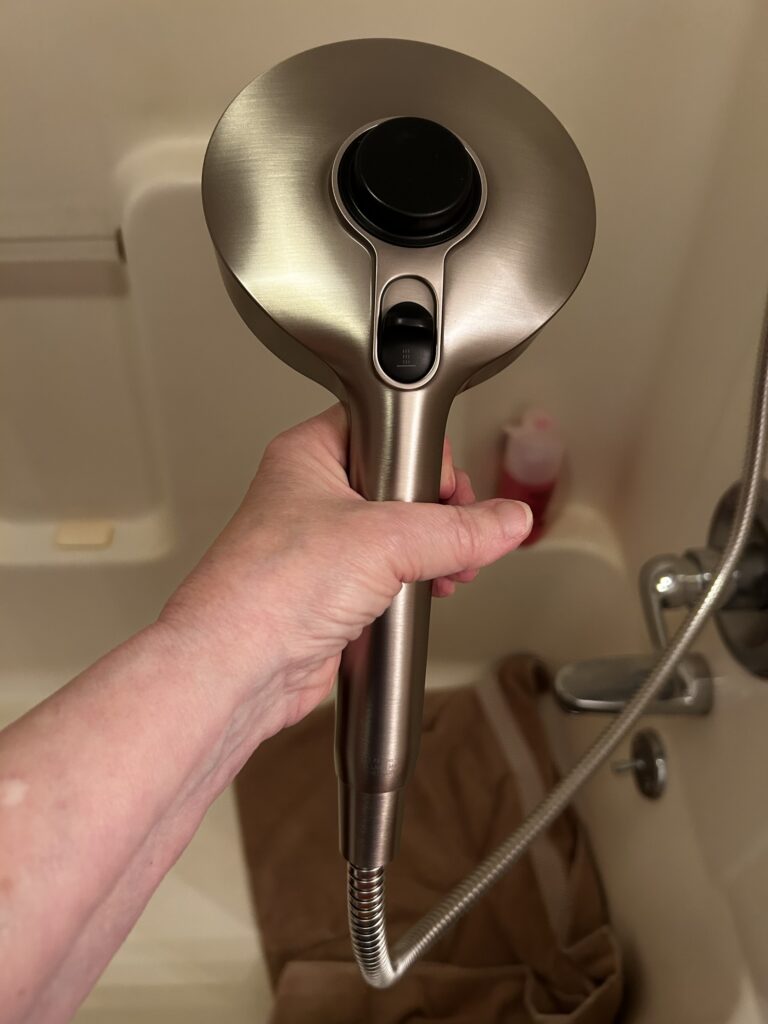
I chose a magnetic attachment, so it “hopped” right in place!
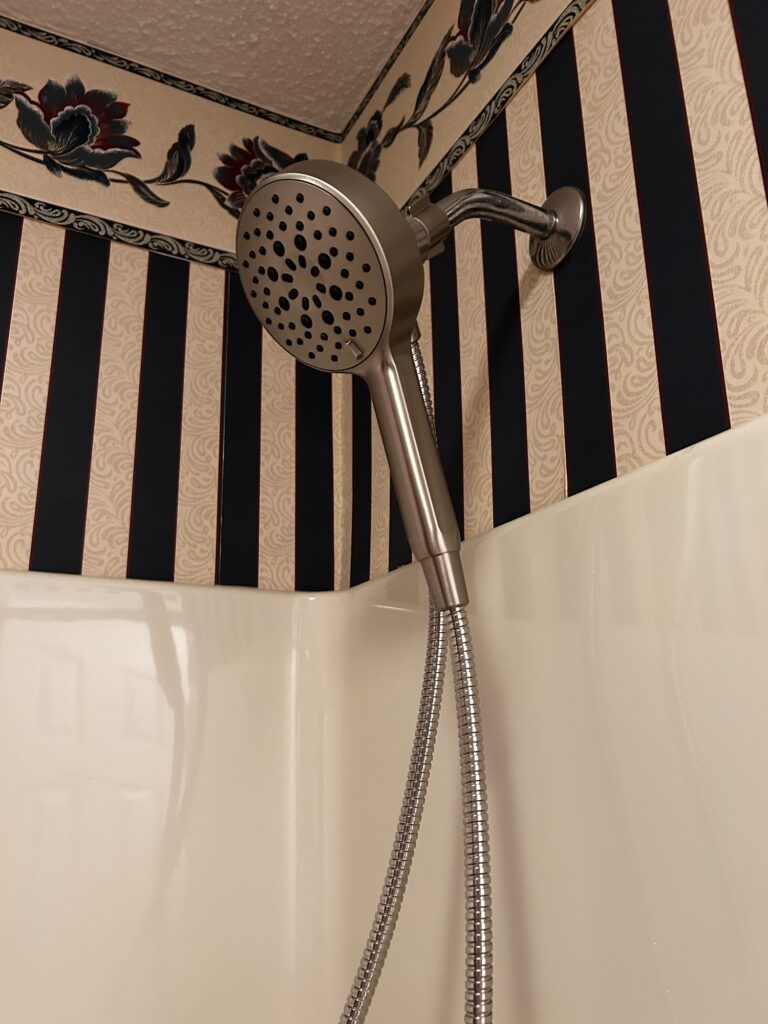
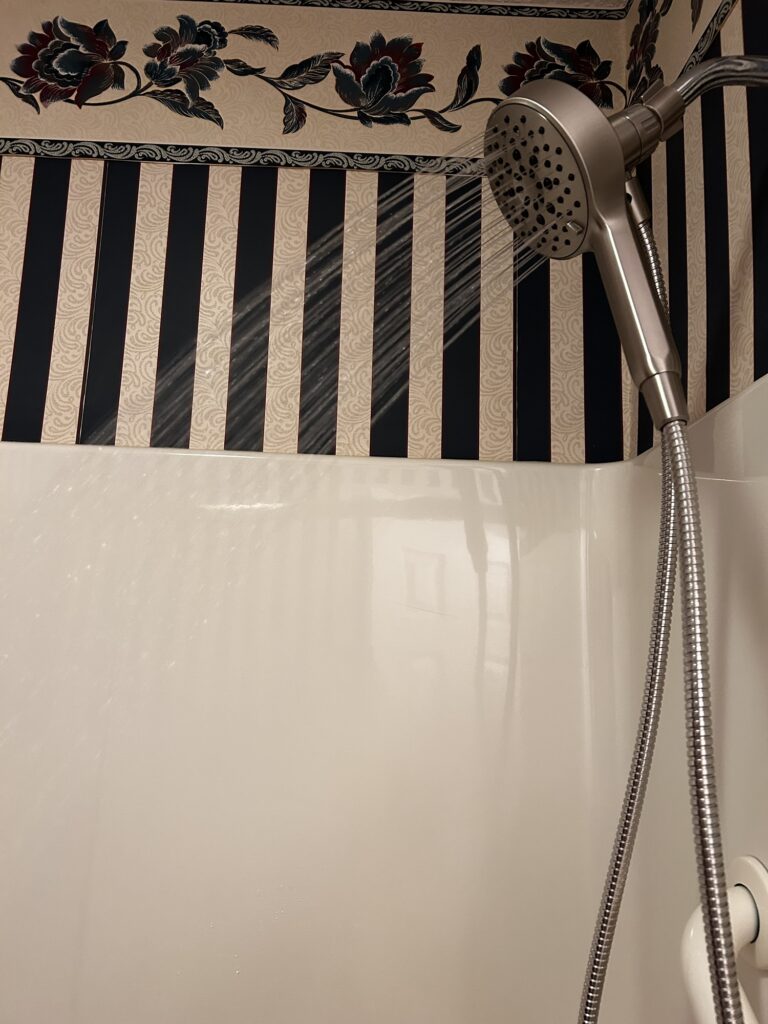
And it works!
There’s a small push button on the back of the head.
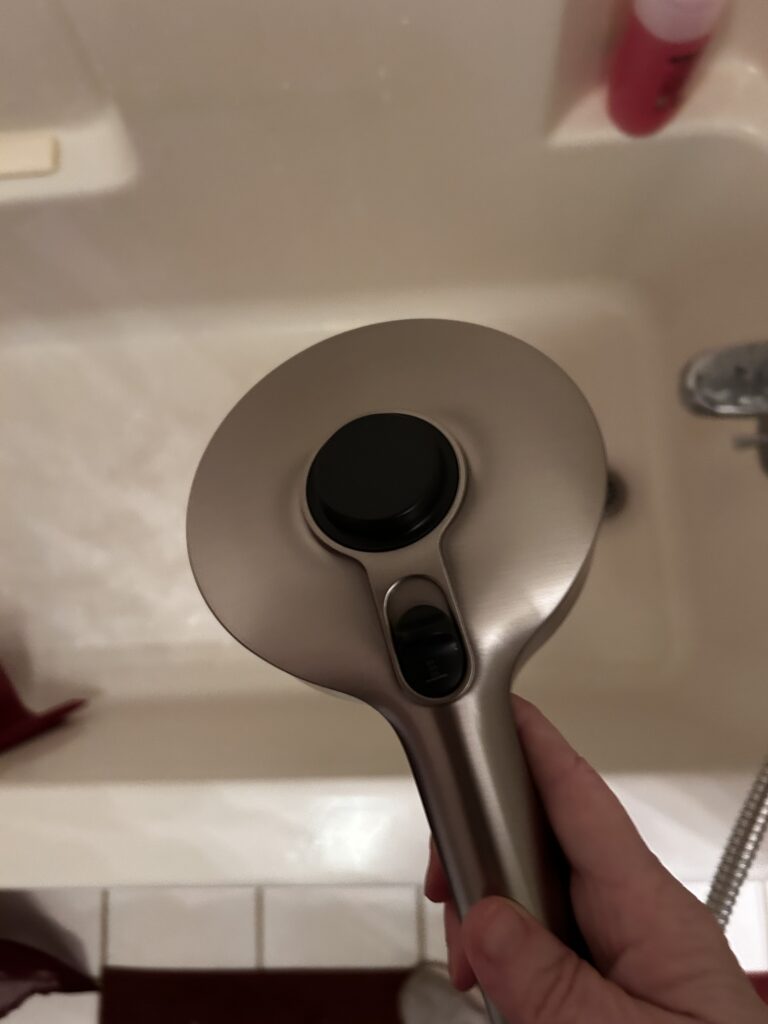
It’s for redirecting the water flow through high pressure openings in the top of the head. It will be a great help in cleaning the tub.
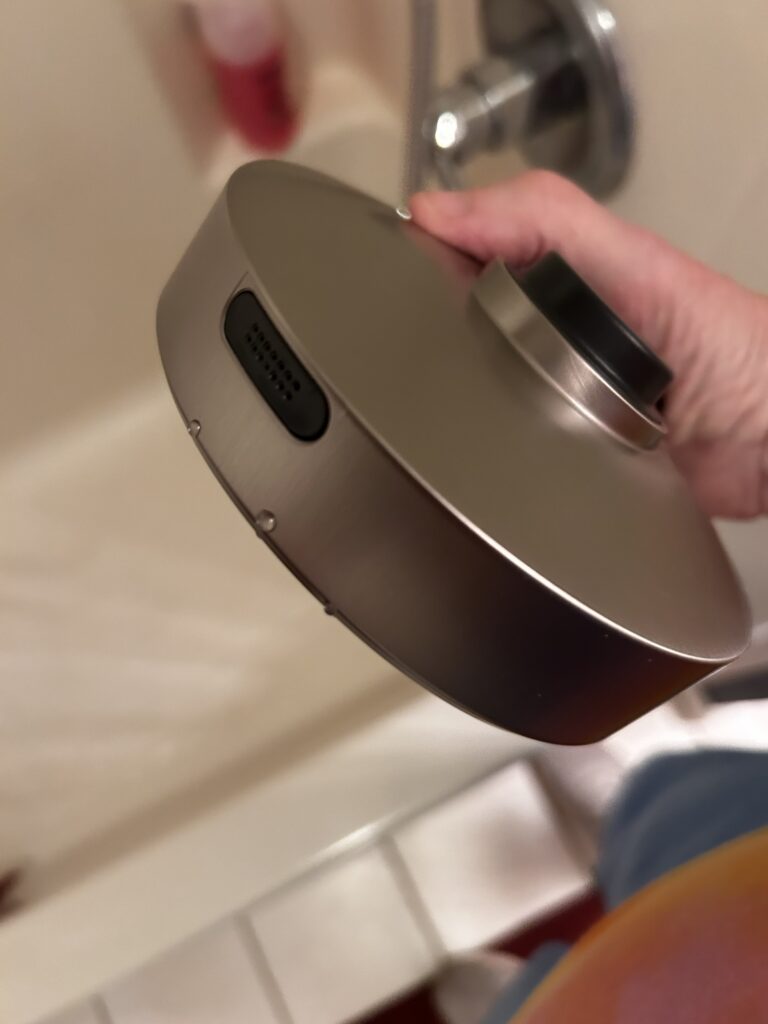
I thought better of trying to photograph that at work!

I hate cleaning them. There’s got to be a better way. Thinking…


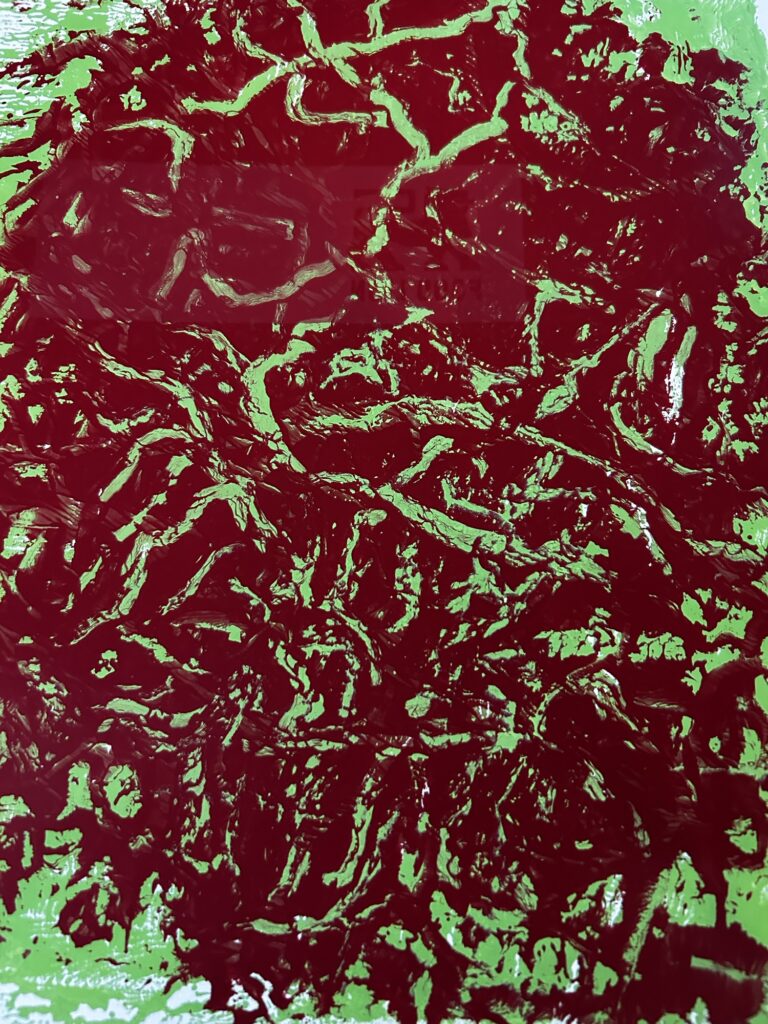
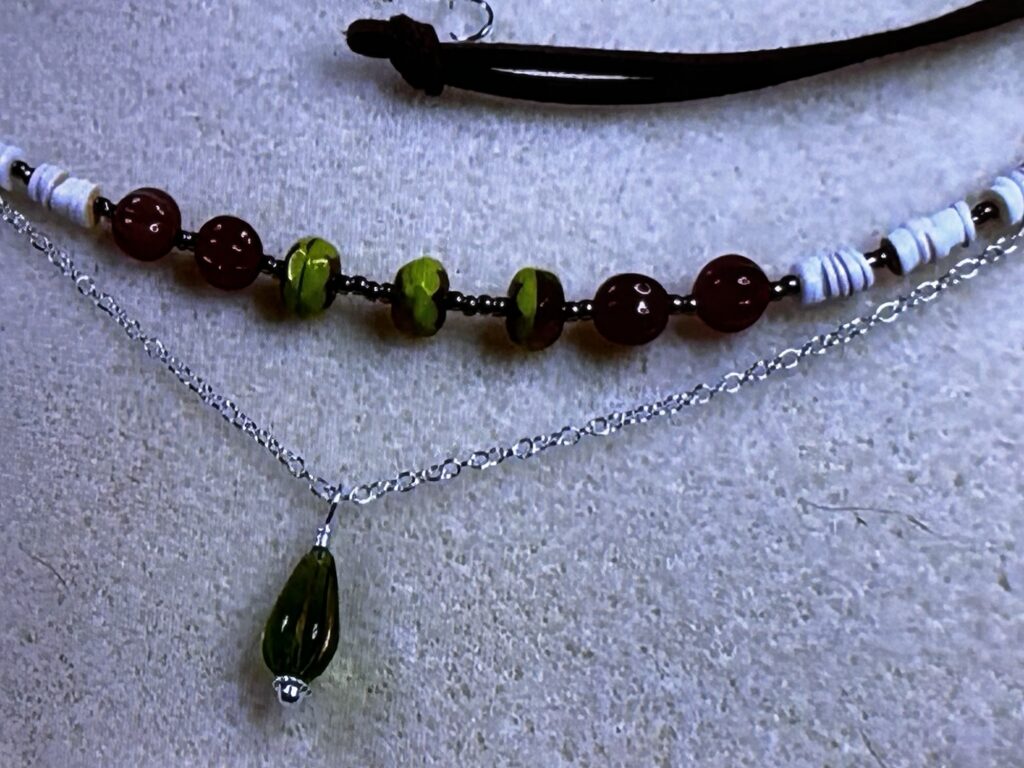
No, it’s an acrylic paint gel print. The stencil/mask I used is Bramble Branches from PMartist Studio. It was supposed to be green branches on a red background.
The design is unrecognizable because I used too much paint. I tried to remove some of the red with a cotton swab, and it seems to have made matters worse.
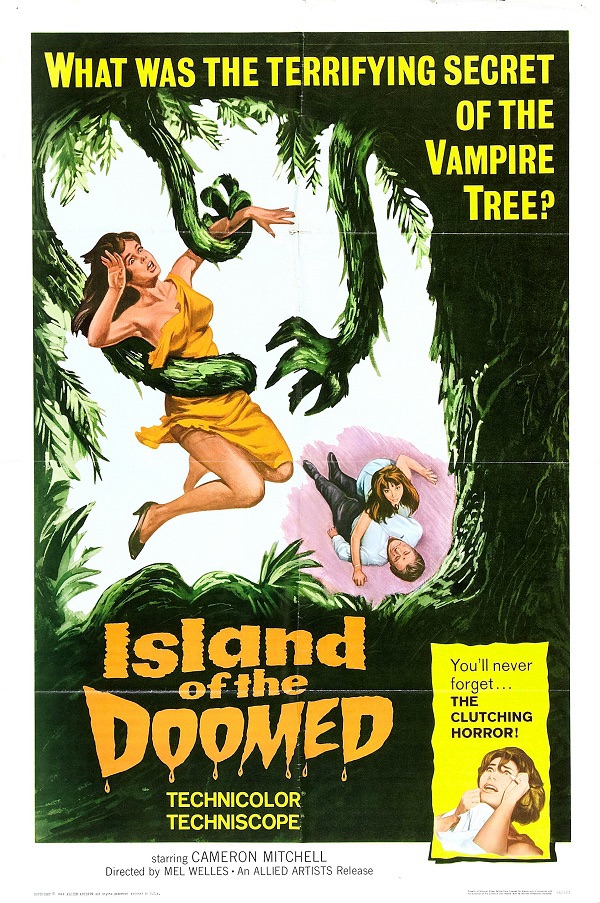
It does bring back memories of a horror movie from my childhood. It was one of the first ones in color, and I think it was called, “Island of the Doomed.”
There was a large tree on a tropical island that would send out tendrils at night that would suck the blood out of people. In the end, when they chopped it down, it was a blood bath, not unlike my gel print! Maybe I should give it the axe!
Look! I found it! I was 11 years old. I can’t believe I remembered! I’ll have to watch it again!

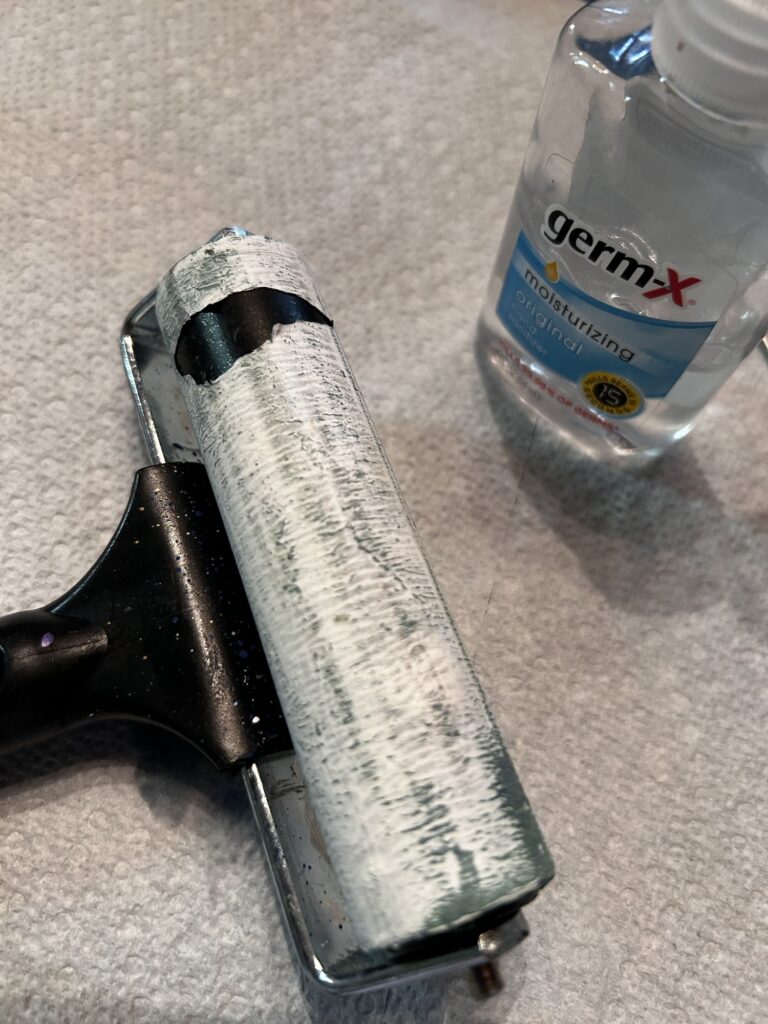
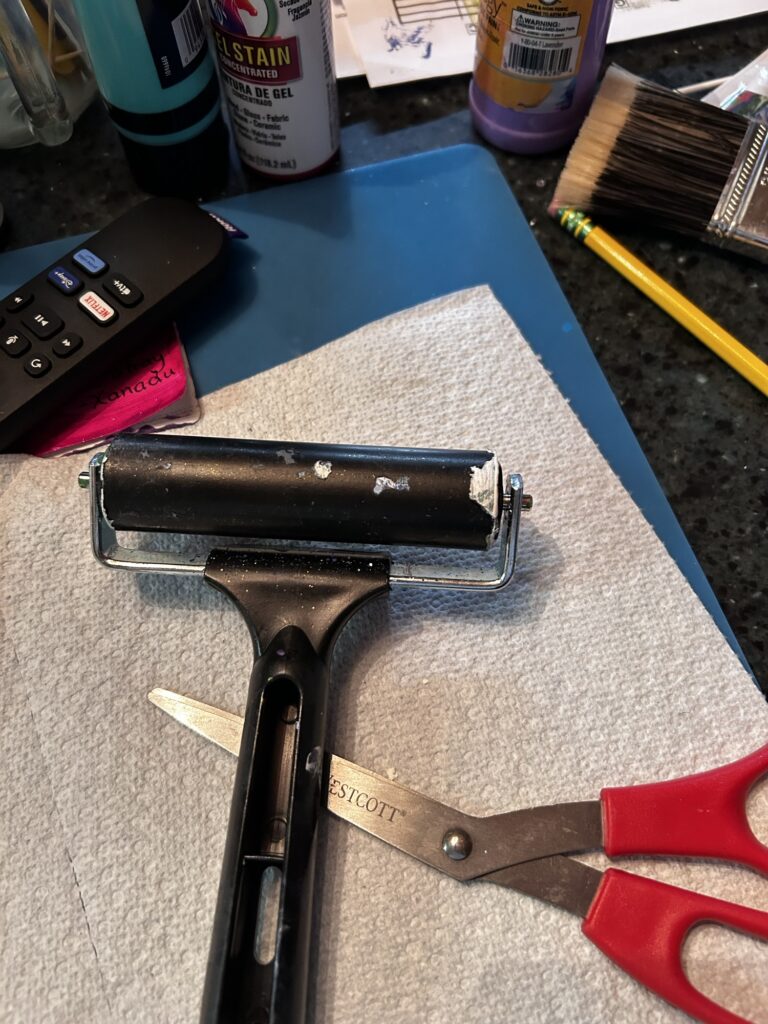
I had old chunky white paint hardened on my brayer with no Murphy’s Oil Soap to soak it in. I remembered Tim Holtz saying recently that you could use hand sanitizer to remove acrylic paint. I rubbed some on my brayer, let it sit a couple of minutes, and started rubbing it with a paper towel. I could tell the white was coming off the green layer underneath, but then a strip came off (shown above.)
I kept applying and rubbing and in some cases, whole sections would peel away. I could use just my bare fingers.
It was getting late and aa large section was being stubborn. I applied a thick layer of sanitizer and left it to sit over night.
This morning, I found that the only thing that happened is the sanitizer had evaporated and the stubborn spot would not budge.
I set back in to applying, rubbing and peeling and finally got the brayer as clean as new, even the ends! The End 🤭